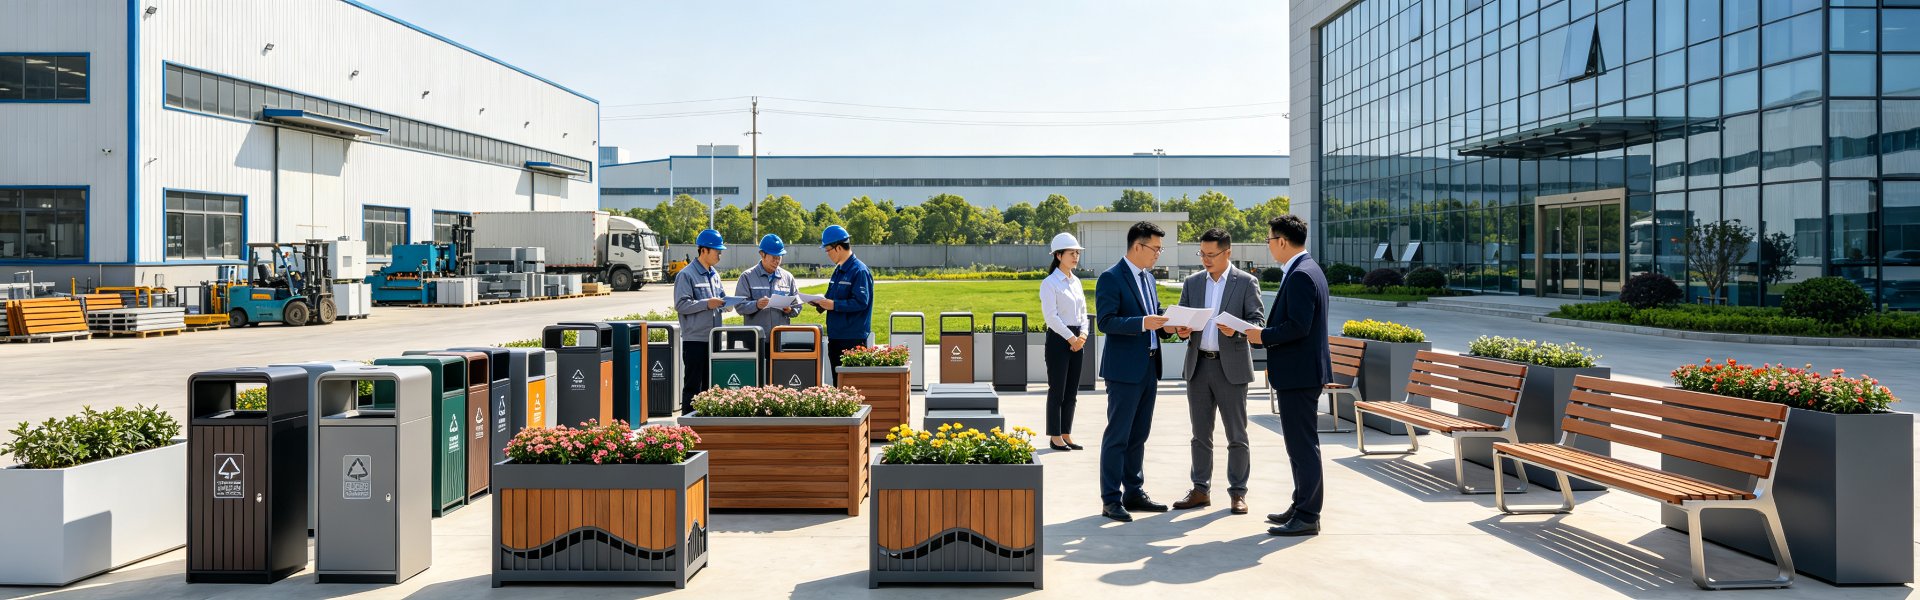
Site Furniture Installation Guide: Container Packing, Shipping and On-Site Setup
2026-09-26 · 6 min read · By AOTUDE Furniture Team
When procurement teams compare quotations for park benches, litter bins or bike racks, the focus usually lands on unit price and material specification. Yet a significant share of avoidable cost and delay in public space projects happens after the products leave the factory - during packing, ocean freight and site furniture installation. A bench that arrives with scratched powder coating because it was stacked incorrectly, or a litter bin that cannot be anchored because the foundation detail was never agreed, will cost far more than the discount that was negotiated in the tender. This guide explains how professional manufacturers pack street furniture for container shipping, which foundation and anchoring methods suit which surfaces, and what a well-run installation on site actually looks like.
Why Packing and Installation Decide the Total Cost
Site furnishings are heavy, rigid and finished products. Unlike raw materials, they cannot be reworked on site without visible results: a chipped coating, a bent steel slat or a cracked timber profile is a warranty claim, not a repair. Experience from export projects shows that the three most common causes of damage are all logistical, not structural:
- Products stacked directly on top of each other without interleaving or corner protection
- Loose items shifting inside the container because no lashing plan was prepared
- Installation crews using the wrong anchors for the substrate, causing movement, rocking or cracked concrete
This is why durable products that resist corrosion and impact pay off twice - once in service, and once because they tolerate handling. We covered the long-term economics in our article on how durable furnishings cut lifecycle costs. The other half of the equation is choosing furniture that was designed to be packed and installed efficiently in the first place.
How Site Furniture Is Packed for Container Shipping
Export-grade packing for street furniture follows a few consistent principles, whether the shipment is a mixed 40 ft container or a full order of a single product line.
1. Individual protection first. Each bench, bin or planter is typically wrapped in bubble film or foam sheet, with reinforced foam corner guards on all exposed edges. Powder-coated surfaces should never touch each other; hardwood slats are separated so that friction during transport cannot mark the finish.
2. Structural packing units. Individually wrapped products are grouped onto steel or wooden pallets and secured with strapping. Heavy items such as cast-iron bins or concrete-base planters go at container floor level; lighter items are loaded above them on a level, fixed platform - never loose.
3. A written loading plan. For a mixed order, a loading plan that lists every product, its quantity, its packed dimensions and its position in the container prevents both wasted volume and shifting cargo. Standard references: a 20 ft container holds roughly 28 m³, a 40 ft container about 58 m³, and a 40 ft high cube about 68 m³ of usable space. Irregular products such as curved benches and large planters consume more volume per unit than their dimensions suggest, which is why experienced exporters plan with real packed sizes, not catalogue dimensions.
4. Hardware packed with the product. Anchor bolts, spacing templates and assembly hardware should be boxed, labelled per product type and loaded so they are accessible first at unloading. A container that arrives without its fixing kit stops the entire installation schedule.
Choosing the Right Foundation and Anchoring Method
Anchoring is where installation succeeds or fails. The correct fixing depends on the substrate, and it should be agreed before the order is confirmed - not discovered by the installer on the day of delivery.
| Substrate | Recommended method | Typical use | Notes |
|---|---|---|---|
| Existing concrete slab | Mechanical or chemical anchor bolts | Benches, bins, racks in plazas and parks | Drill, clean the hole, torque to specification; chemical anchors give the highest pull-out resistance |
| New concrete | Cast-in anchor plates or embedded bolts | High-vandalism locations, transit hubs | Most secure and tamper-resistant; requires coordination during civil works |
| Paving on sand or gravel bed | Concrete foundation pad below paving | Any freestanding furniture | Never anchor into the paving itself; the pad carries the load |
| Compacted soil / lawn | Ground anchors or concrete footings | Backless benches, bike stands in green areas | Footing depth typically 300–500 mm depending on product and wind load |
| Timber decking | Through-bolts to structural beams | Lightweight items only | Verify the substructure load capacity first |
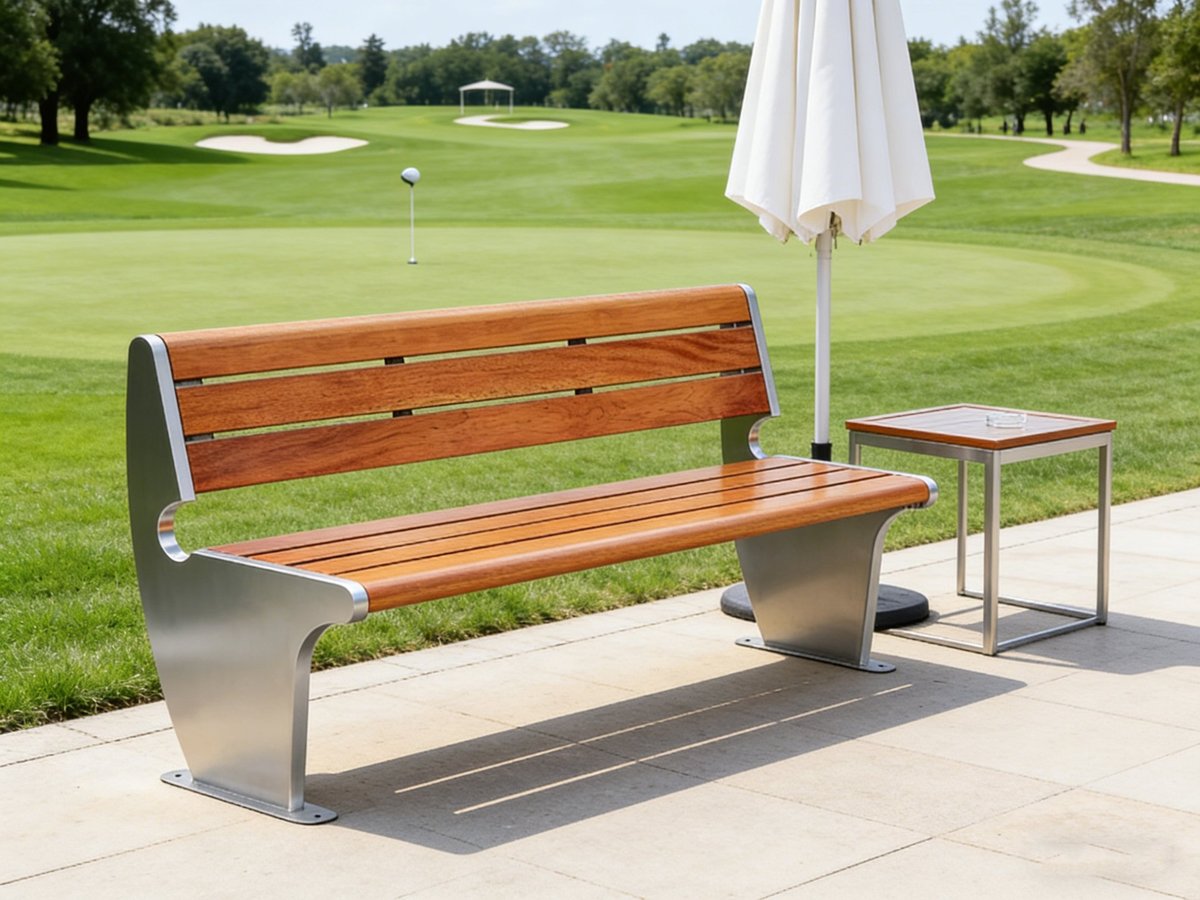
A practical detail worth specifying: mounting plates with slotted or oversized holes make small positioning errors on site forgivable, while fixed tight-tolerance holes turn every millimetre into a problem. Products such as the Fairway park bench are supplied with mounting plates designed for straightforward anchor-bolt installation on prepared concrete.
Installation Best Practices on Site
A well-prepared installation crew follows a sequence that protects both the products and the schedule:
- Verify the layout before drilling. Mark all fixing points from the approved layout drawing and check clearances - accessible routes, door swings, drainage channels - against the plan. Corrections at the marking stage cost minutes; corrections after drilling cost product.
- Check levels and finishes at handover. Inspect every item for transport damage before it leaves the pallet, and photograph anything questionable immediately so claims can be resolved against the packing record.
- Drill and anchor to specification. Use the specified anchor type and torque, and fill drill holes correctly for chemical anchors. Half-torqued bolts are the most common hidden defect in street furniture installations.
- Clean and protect after fixing. Remove drilling dust, apply touch-up paint to any site scratches on coated steel, and only then remove the final protective wrapping - keeping it on until the last possible moment.
- Record as-built positions. A short photo record and updated layout plan makes every future maintenance visit, and any future expansion of the space, significantly easier.
Common Mistakes That Shorten Furniture Life
Even well-made furniture fails early when installation shortcuts are taken. The recurring offenders:
- Anchoring into pavers instead of a foundation, producing rocking furniture within the first season
- Ignoring drainage: bins and bench legs set in low points stand in water after every rain
- Cutting the coating during drilling and leaving bare steel unprotected instead of touching it up
- Mixing incompatible metals (stainless bolts in contact with uncoated carbon steel plates), which accelerates galvanic corrosion
Most of these are avoidable with a one-page installation specification issued together with the order confirmation - something a factory-direct supplier can prepare as part of the project documentation rather than an afterthought.
Work With a Factory That Ships Project-Ready Furniture
Packing and installation quality starts at the factory. AOTUDE (https://aotude.com) manufactures outdoor site furniture in a 20,000 m² factory in Foshan, China, and exports worldwide with export-grade packing as standard: individual protective wrapping, foam edge protection, steel pallets and a written loading plan for every mixed container. With factory-direct pricing, a minimum order of only 50 pieces, full OEM/ODM support and a 5–10 year warranty on our products, we support municipal departments, landscape contractors and distributors from specification through to delivery - including installation drawings, anchor hardware and packing documentation tailored to your project. Browse our outdoor seating range or revisit our public space furniture planning guide to align furniture selection, layout and installation from day one.