Street Furniture on Slopes and Stepped Sites: A Specifier's Guide
2026-11-17 · 10 min read · By AOTUDE Furniture Team
Flat sites are the exception in real municipal work. Hillside parks, riverside promenades that climb away from the water, campus quads cut into a hillside, streets that follow the natural gradient of the terrain — sooner or later every landscape contractor and parks department has to specify street furniture on slopes. The furniture itself is usually the easy part; the difficulty is that a bench, bin or planter designed to sit level on flat ground behaves very differently when the ground under it falls away at 5%, 12% or 25%. Get the layout wrong and you end up with rocking seats, washed-out pads, non-compliant approach routes and premature anchor failures.
This guide sets out a practical sequence for sloped and stepped sites: read the terrain first, choose a levelling strategy, match furniture types to the grade you actually have, detail the footings, and keep drainage and accessibility in the same conversation as the layout.
Why Slopes Change the Specification, Not Just the Placement
On flat ground, most site furniture decisions reduce to spacing, clearance and surfacing. Slope adds three new variables that interact with each other:
- Level tolerance. Every product has a practical limit on how far out of level its seat, lid or hinge can operate before it looks wrong or works badly. A litter bin on a cross-slope drops its lid open every time the wind pushes it; a bench on a slope puts one occupant permanently higher than the other.
- Running and cross-fall. Ground that moves in two directions at once (along the path and across it) means the "level pad" you build for a bench has to be engineered, not improvised with shims.
- Gravity loads and water. A slope concentrates runoff across the very pads you create for furniture, and it adds lateral load to anything anchored near a retaining structure or an unstabilised edge.
None of these are exotic problems. They are routine civil-work issues, but they must be decided before the furniture order is placed, because the answers change the product, the anchoring detail and sometimes the quantity.
Step 1: Survey the Terrain Before You Place Anything
The most expensive mistake on sloped sites is choosing furniture locations from a flat plan drawing and discovering the ground conditions only at installation. A one-hour site walk with a hand level or a smartphone inclinometer beats a week of retrofitting. Record for each candidate location:
| Measurement | What to record | Why it matters |
|---|---|---|
| Longitudinal grade | % fall along the direction of travel | Determines whether the spot needs a terrace, a level pad or a stepped platform |
| Cross slope | % fall across the intended furniture footprint | Seats, bin lids and accessible clear ground space all behave on cross slope, not just running grade |
| Surface type | Grass, gravel, paving, retained fill | Dictates footing type and whether a pad needs an edge restraint |
| Water path | Where runoff crosses or pools near the spot | Pads in runoff lines erode; edge supports in swales undercut |
| Edge condition | Distance to retaining walls, steps, unsupported fill | Sets back-of-bench clearances and anchor depth |
Two rules of thumb worth writing into the tender: any furniture zone intended for seated use should be graded to 2% or less in the immediate use area, and no furniture should be set closer to the crest of a retained slope than the depth of its own footing — ideally with a 300 mm setback from any wall cap or unsupported edge.
Step 2: Choose a Levelling Strategy
Once you know the grades, there are only four honest ways to put furniture on sloping ground. Everything else — shimmed legs, propped frames, ad-hoc mortar beds — fails within a season or two.
| Strategy | Works best at | Description | Watch-outs |
|---|---|---|---|
| Cut-and-fill level pad | Up to ~8% | Excavate the high side, build up the low side, compact in layers, edge-restrain the pad | Needs proper compaction on the filled side; uncompacted fill settles and tips the furniture |
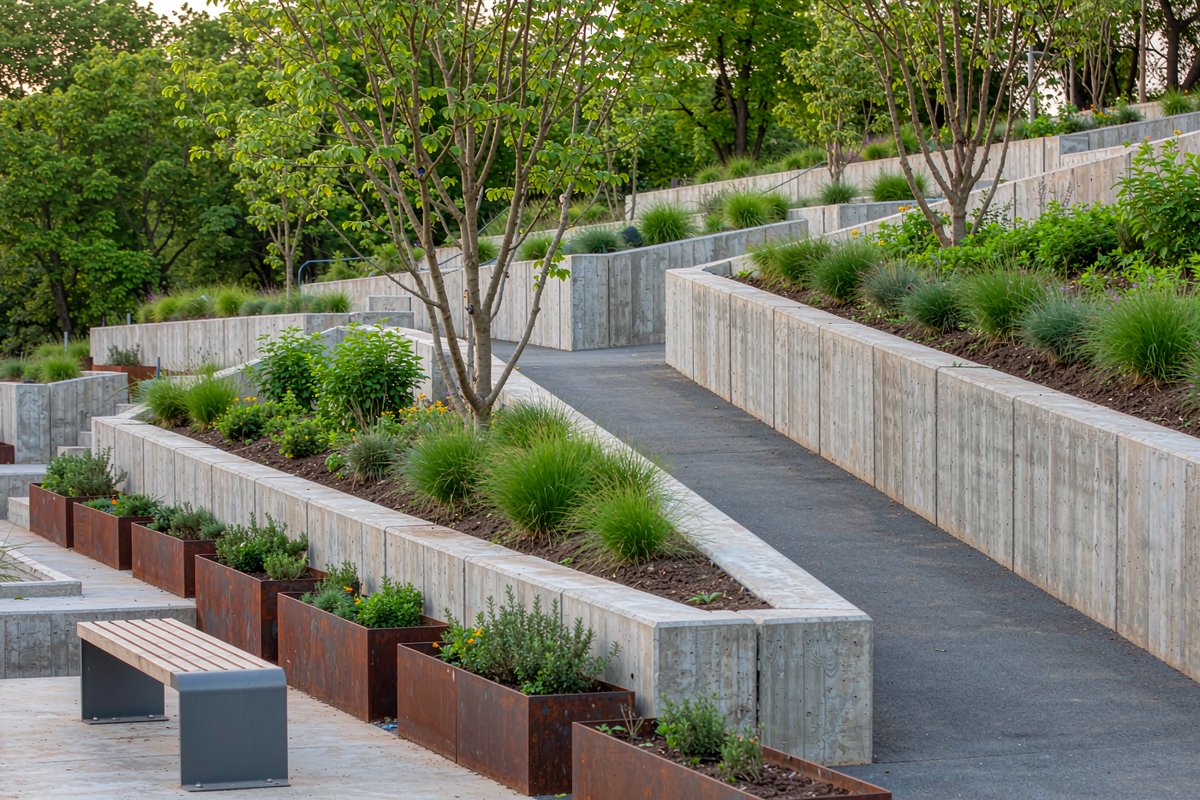
| Terracing | 8–25% | Divide the slope into retained flat levels; place furniture on each level | Costs structure and drainage; coordinate furniture layout with wall positions at concept stage, not after |
| Stepped platforms | Steep, pedestrian-priority sites | Furniture integrated into large steps or amphitheatre seating | Needs railings, contrast nosings and safe edge details; furniture anchors must not crack the step structure |
| Re-grade the pocket only | Any grade, small areas | Re-shape just the furniture footprint to a local bench of level ground, tied into the slope with a gentle transition | Avoid an abrupt "plateau in a hillside" look; blend transitions over at least 1 m |
For most hillside parks and terraced plazas, the practical answer is a combination: terraces carry the main furniture clusters, and individual level pads carry scattered seats and bins between them.
Step 3: Match Furniture Types to the Grade You Actually Have
Not every product suffers equally on sloped ground. Matching the furniture catalogue to the terrain shortens both the spec and the punch list.
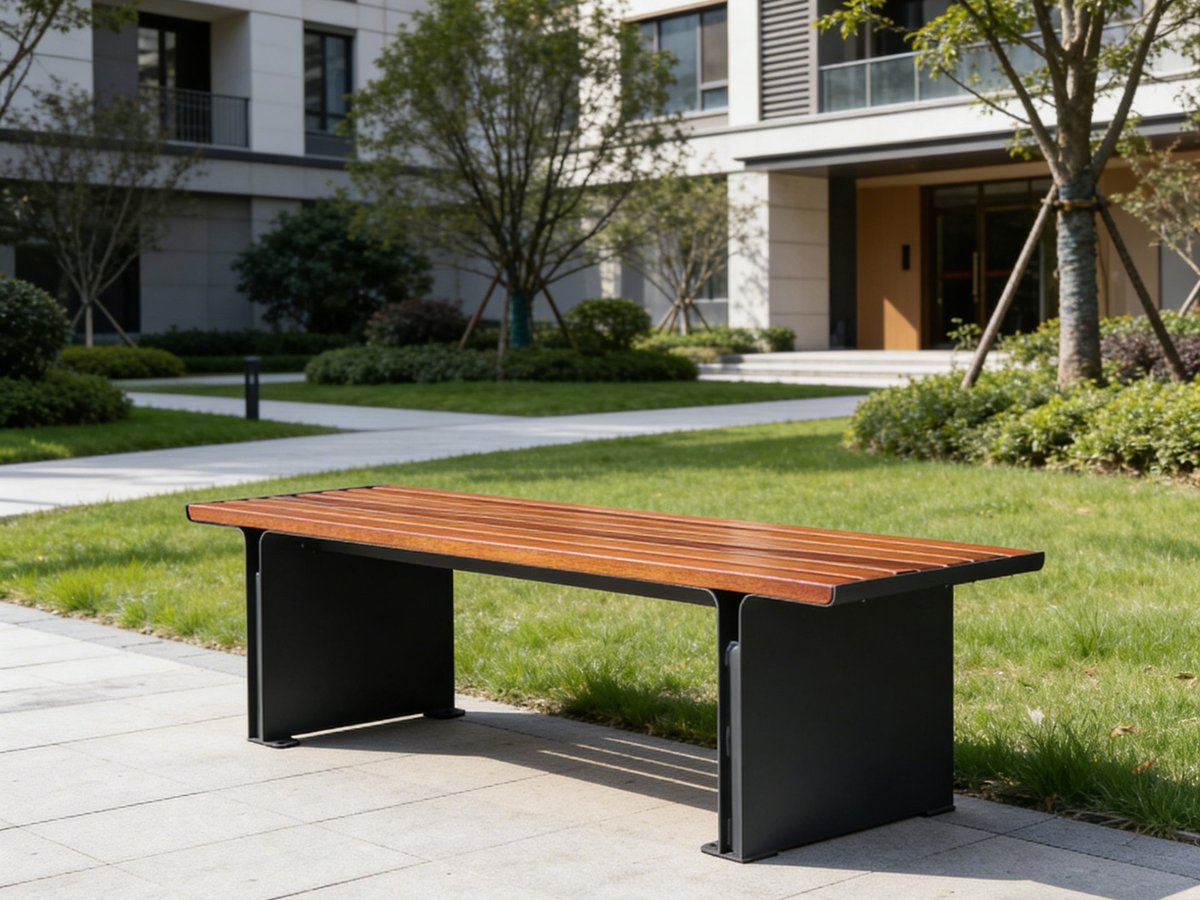
- Benches. A bench tolerates more slope in its setting than in its seat. On a sloped site, put benches on level pads and accept a gently ramped approach; do not try to follow the grade with the seat rails. Heavy-mass designs are worth extra weight here — a bench like the Stonebase park bench, with substantial steel ends and a wide base footprint, sits more confidently on a rebuilt pad and resists the creep that light frames develop on uncompacted fill.
- Litter bins and recycling stations. These are the most slope-sensitive products in the catalogue: hinged lids, internal liners and sorting apertures all assume vertical. On slopes above about 3%, bins belong on dedicated level pads, and the pad should be large enough that a collection worker stands level while servicing the bin.
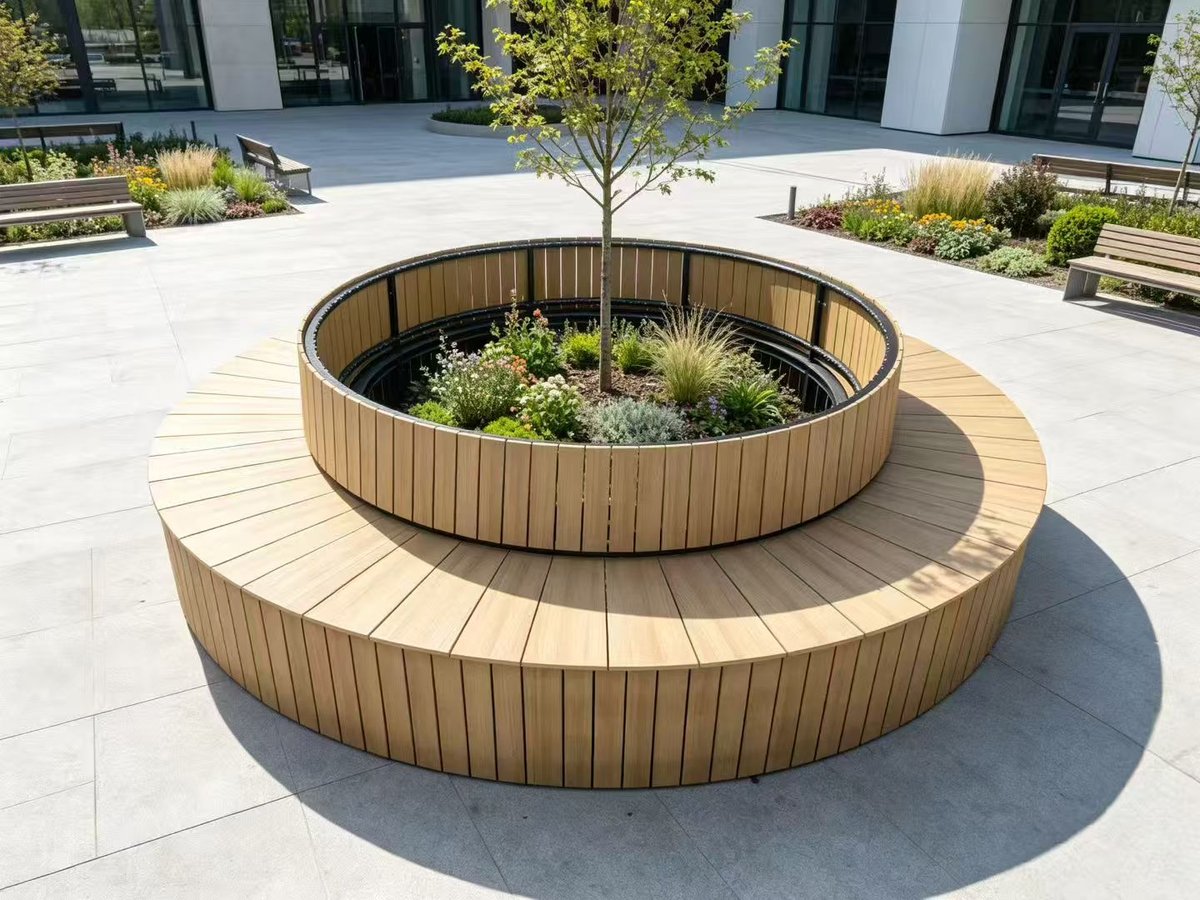
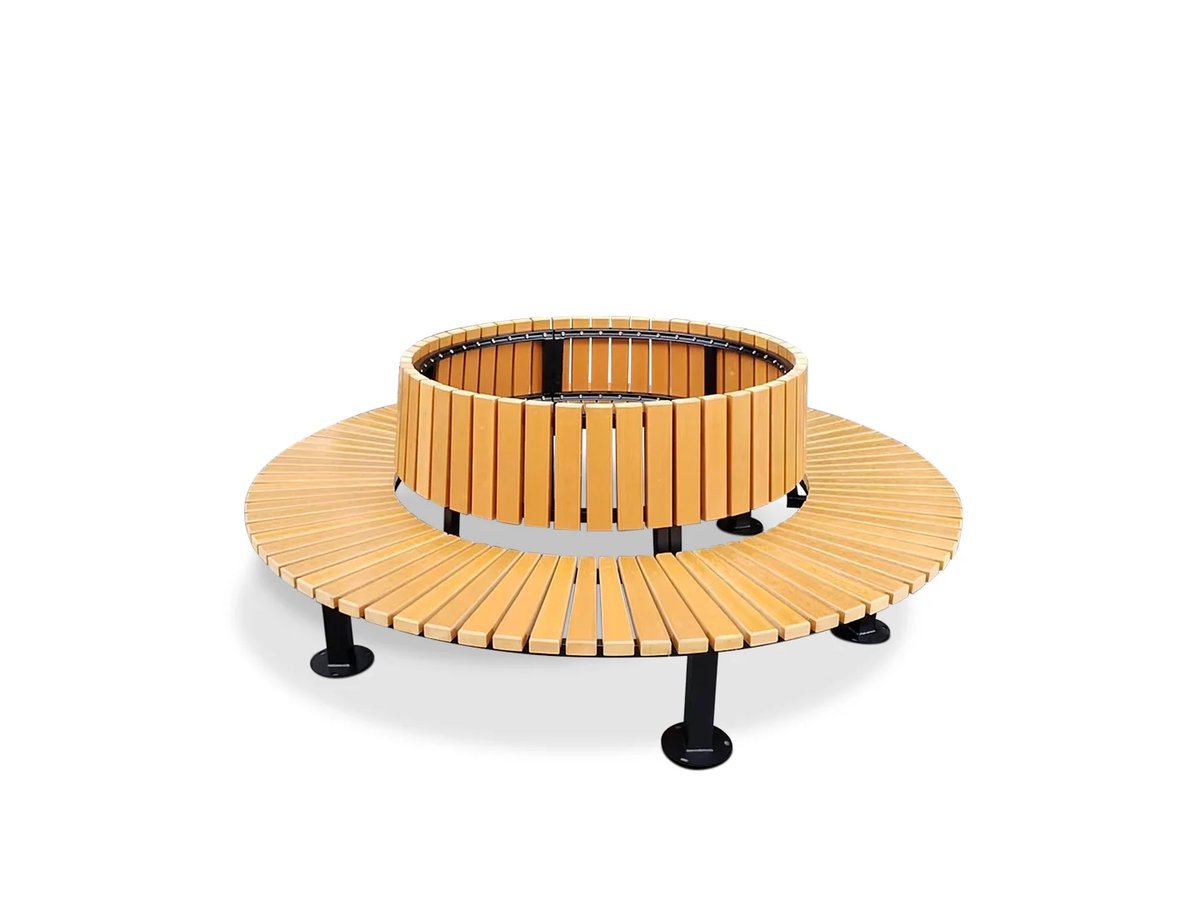
- Planters. The most forgiving category, because a planter only needs its own footprint level and it adds mass that stabilises the pad. Planters are also the standard tool for guarding terrace edges and defining stepped levels — a row of planters along a retaining wall cap does the safety and the planting job at once.
- Picnic tables. Seating around a table is where slope failures are most visible and most complained about. Wheelchair positioning, level table surfaces and stable benches all require a genuinely flat zone; the placement rules for picnic areas apply double on graded ground, and shimming legs on uneven ground is explicitly a fail.
- Bike racks. Racks follow the surfacing more than the grade: a rack can sit on modestly sloped ground, but the wheel channels assume vertical frames, and the adjacent standing area needs to be walkable. On steep sites, put racks in the flat intervals between terraces or at the switchback landings.
Step 4: Detail the Anchoring for Sloped Conditions
Anchoring on flat ground is a solved problem; anchoring on slopes has two extra failure modes worth specifying against.
Settlement on the filled side. Every cut-and-fill pad has a native side and a filled side. If the fill is not compacted in controlled layers, the filled side settles, the furniture tilts toward the slope, and within a year you are re-shimming. Specify compaction and, for anything heavier than a litter bin, a pad that bears on native ground or on engineered fill — the same geotechnical logic that governs frost-heave repair on flat sites applies here.
Undermining by runoff. Slopes move water. A pad without an upslope cut-off or a small diversion channel becomes a sediment trap in the first storm season, and the fines it traps lift the low edge of the furniture. On actively draining slopes, pair each furniture pad with an upslope drainage detail — even a shallow swale 300–500 mm above the pad — and keep the pad surface at or slightly above the surrounding grade so it drains, not collects.
For surface-mounted anchors on sloped paving, remember that bolt threads emerge unevenly when the base plate is levelled. Specify washers and spacers in the install kit, and check the manufacturer's maximum out-of-level tolerance for the base plate; most fabricated steel frames accept a surprising amount of pad correction before the frame itself must be shimmed.
Step 5: Stepped Sites — Furniture at Retaining Walls and Stair Edges
Stepped sites create their own category of opportunities and traps. Three placements cover most real cases:
- Seats on wide treads. Amphitheatre-style steps 600–700 mm high and 900+ mm deep can carry seat furniture on their landings, but the step structure must be designed for the point loads; bolting a bench to a thin wall cap cracks it.
- Bins at stair heads. People drop litter where they pause. Put bins at the head and foot of stairs and at switchback landings — always on a level segment, never mid-flight.
- Planters as edge protection. A continuous row of planters along an open terrace edge is often the cheapest safe way to prevent a fall without adding railing clutter, and it doubles as the planting scheme.
Whatever sits near a drop, keep a clear, detectable edge treatment between the furniture zone and the level change — furniture itself is not a guardrail, and a bench placed as a "barrier" becomes the hazard it was meant to prevent.
Keep Accessibility in the Same Conversation
On sloped sites, accessibility and furniture layout cannot be sequenced separately. The accessible route runs through the same terraces and pads the furniture sits on, and every level pad you build is an opportunity to provide the approach space, turning room and firm surfacing that an accessible placement requires. The cross-slope limits under benches, the clear ground space beside tables and the gentle running grades along connecting paths all have documented target values, and it is far cheaper to honour them while the earthworks are open than after the pads are poured. Our earlier guide on accessible site furnishings sets out those placement requirements in detail; treat it as the companion document to this one.
A Pre-Installation Checklist for Sloped Sites
Run this list before any furniture is ordered for graded ground:
- [ ] Grades and cross slopes recorded for every furniture location
- [ ] Levelling strategy chosen per location: pad, terrace, stepped platform or pocket re-grade
- [ ] Fill compaction specified for every built pad
- [ ] Runoff path mapped and upslope diversion details attached to pads in flow lines
- [ ] Furniture types matched to grade: bins on level pads, tables on flat zones, planters freed for edge duty
- [ ] Anchor details include washers/spacers and pad out-of-level tolerance
- [ ] Accessible route and clear space checked against pad positions
- [ ] Setback from wall caps and unsupported edges verified (300 mm minimum)
Working With a Manufacturer on Graded Sites
Sloped and stepped projects reward suppliers who can adjust the product to the site rather than the reverse. As a factory-direct manufacturer of outdoor street furniture, AOTUDE operates a 20,000 m² production facility in Foshan and supports OEM/ODM projects: longer anchor legs for deeper pads, modified base plates for out-of-level corrections, and mixed-product packages — benches, bins, planters, racks — shipped as one coordinated order. Per-model MOQ starts from 5 pcs (most models at 20 pcs, custom runs from 50 pcs), which makes it realistic to buy a handful of special-fitting pieces for a hillside pocket while sourcing the rest of the scheme in the same shipment. All products carry a 5–10 year warranty, and the full range with specifications is at https://aotude.com.
If your next project climbs a hill, budget the terrain survey first and let it drive the furniture order. The ground does not negotiate; the specification should.