Picnic Area Layout Planning: Spacing, Accessibility and Placement for Parks and Campuses
2026-10-26 · 7 min read · By AOTUDE Furniture Team
A well-designed picnic area does far more than give people somewhere to eat. For municipal parks departments, campus planners and landscape contractors, picnic area layout planning determines how many visitors a space can serve, how easily it can be maintained, and whether the space is usable by everyone — including wheelchair users and families with strollers. Yet picnic zones are frequently treated as an afterthought: tables are ordered, dropped onto the nearest patch of grass, and left to sink into the soil by the second season. The result is a space that looks busy on opening day and neglected two years later.
This guide sets out the practical rules for picnic table placement and spacing, the surfacing and anchoring decisions that affect long-term maintenance, and the accessibility and circulation requirements that should be fixed before the first table is installed. It complements our earlier coverage of picnic table dimensions and size charts, which explains how to choose the right table sizes; here the focus is on how those tables fit together as a space.
Start With Capacity, Not Furniture
The most common planning mistake is choosing tables before calculating demand. Work backwards from expected visitor numbers instead. As a rule of thumb, a picnic table seats 6 to 8 people, and a typical picnic zone should provision one seat for every 10–15 expected peak users, because many visitors arrive in pairs or groups that share tables.
Once you have a target seat count, convert it into tables and then into land area. A compact single-table footprint — the table plus chairs pulled out — needs roughly 3.5 m × 3.5 m. But no table should be planned as an island: circulation, shade offset and buffer distances push the realistic figure to 20–30 m² per table in a well-designed layout. The table below summarises the spacing values we recommend to landscape architects during specification reviews.
| Design element | Recommended dimension | Why it matters |
|---|---|---|
| Table footprint (incl. pulled-out seating) | 3.5 × 3.5 m per table | Prevents knees and benches colliding between units |
| Clear space between table edges | 2.0 m minimum | Wheelchair approach and cleaning equipment access |
| Accessible route width to each table | 1.2 m minimum, firm and stable | Users with mobility aids must reach tables without crossing soft turf |
| Distance to waste/recycling bin | 25–30 m walking distance | Keeps the site clean without bin clutter in dining zones |
| Buffer from play areas or paths | 3 m minimum | Reduces litter drift and conflict between cyclists and diners |
| Shade coverage target | 30–50% of tables | Extends usable hours and protects surface temperature |
Placement Rules: Shade, Wind, Sightlines and Slope
With spacing standards fixed, the next question in any picnic area design is where each table goes. Four factors dominate:
- Shade. Position a majority of tables in existing or planned shade, but keep table frames at least 2 m from trunks and 1.5 m from the canopy drip line. Roots and falling branches both cause long-term problems, and surface-mounted frames placed inside the drip line will be disturbed by root growth within a few seasons.
- Wind and sun exposure. In exposed coastal or elevated sites, orient rectangular tables with their long axis perpendicular to the prevailing wind so windbreaks — hedges, low walls, denser planted barriers — can shelter the seating surface.
- Sightlines. Picnic zones should be overlookable from main paths, park buildings or adjacent active areas. Dense planting that hides a dining area from view is one of the most common anti-social behaviour triggers reported by parks teams.
- Slope and drainage. Table sites should be graded to 2% or less in the table zone. Anything steeper creates an unstable seating experience, makes wheelchair positioning impossible, and accelerates surface washout. On sloped ground, cut terraces or choose a different location rather than shimming table legs.
Another placement decision that pays off immediately: cluster tables in pods of three to six rather than scattering them. Clustering concentrates maintenance, shortens waste-collection routes, simplifies event conversions, and creates the social atmosphere that makes a picnic area feel intentional rather than improvised.
Surfacing and Anchoring: The Decisions That Determine Maintenance Cost
The surface under the tables will dictate maintenance budgets for a decade. Loose mulch and grass are cheap to install but need constant topping-up, become mud in wet weather, and are the least accessible option. Compacted crushed rock with an edge restraint performs better; reinforced grass systems are a middle path where a green look is required. For high-traffic city parks, concrete or permeable paving under the table zone with planting between pods is the most durable combination.
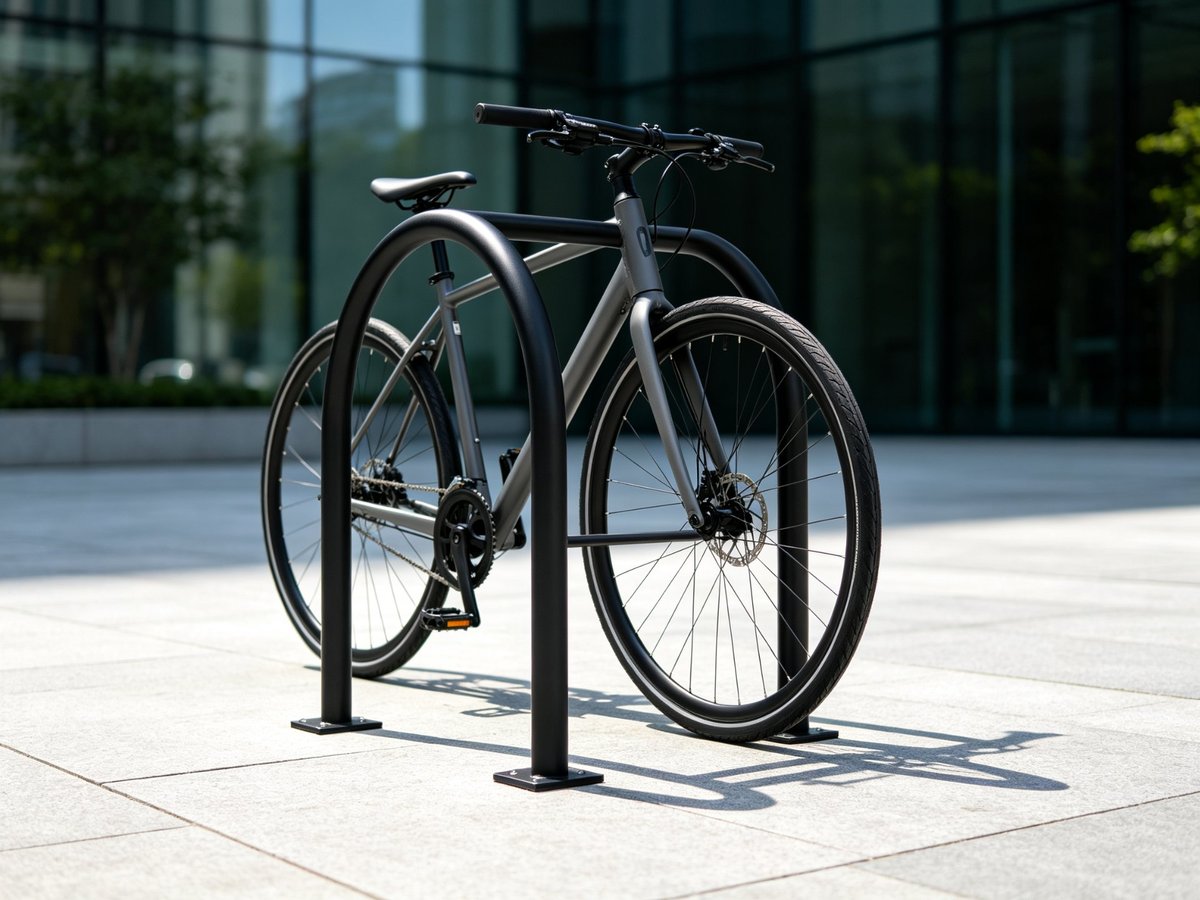
Anchoring follows the surface. The same logic that applies to bike racks applies to picnic tables: in-ground anchors for poured concrete, surface flanges with mechanical fixings for paving on pedestals, and ballasted or ground-screw solutions where excavation is not permitted. As a specification rule, any picnic table in an unsupervised public space should be anchored — freestanding tables walk away, get dragged, and in windy sites can become genuine hazards.
Accessibility: Design the Route, Not Just the Table
Accessibility in picnic areas is often reduced to ordering one accessible table. That is not how it works in practice. A wheelchair user needs three things to arrive at the same time: an accessible route to the table, clear ground space beside the seating, and a table body that allows knee clearance or a wheelchair-space end. If any of the three is missing, the accessible table is unusable.
Plan for it as a layout requirement:
- Provide accessible routes from the main path or car park to at least a defined share of tables — ideally every pod cluster — with firm, stable surfacing and running slopes kept gentle.
- Reserve a wheelchair space at the end of at least one table in each cluster, sized at roughly 0.9 × 1.4 m with the surface at the same level as the route.
- Choose end-frame or round-frame table designs that do not block the ends, rather than tables with solid panel ends.
- Keep the route free of the buffer clutter — bollards, planters, bin banks — that tends to accumulate at picnic zone edges over the years.
Municipal teams planning broader inclusive layouts will find the general framework in our guide to accessible site furnishings useful alongside this article.
Servicing the Area: Waste, Water and Event Conversion
A picnic area that is not serviced correctly fails within one season. Three service elements belong in the layout plan from day one:
- Waste and recycling. Place bin banks at pod edges on the accessible route, sized against your collection frequency using our litter bin capacity planning guidance. Overflowing bins beside dining tables are the fastest route to customer complaints and vermin.
- Water access. A drinking fountain or wash point within 50 m dramatically increases how long people stay and how the space is used across seasons.
- Event conversion. If the zone will host markets or community events, keep one pod cluster on a hard surface with removable-table anchor points, so catering vehicles and temporary stalls can plug into the layout without replanting or regrading.
Choosing Tables That Survive the Layout You Planned
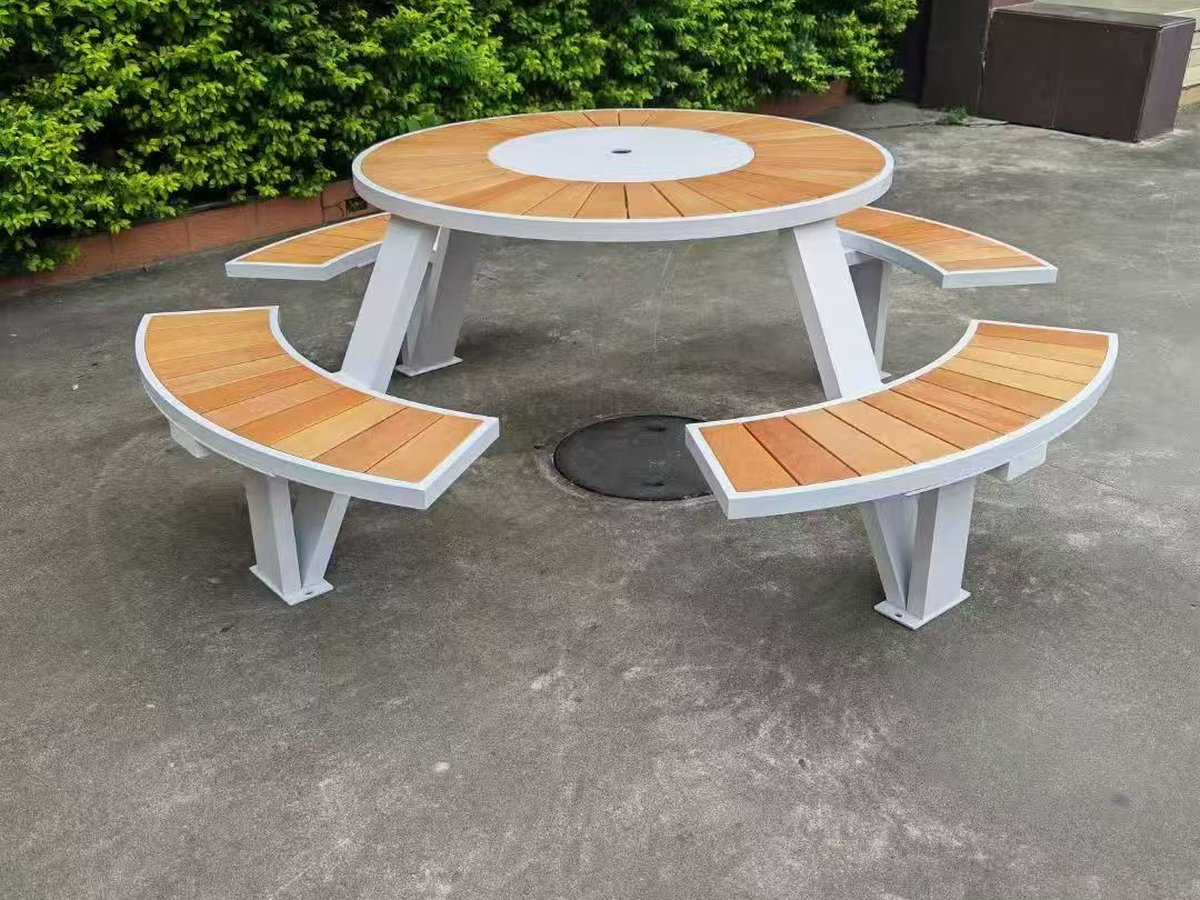
Finally, the furniture itself has to match the maintenance reality of a public picnic zone. Hot-dip galvanized steel frames with powder-coated finishes, hardwood or WPC slats, and through-bolted rather than stapled construction are the specification baseline for unsupervised public use. Round and circular group tables — such as the Circular Group Picnic Table in our range — are particularly effective in clustered pod layouts because a single unit seats eight while occupying a near-square footprint, and there are no "ends" to block wheelchair approach.
For buyers planning a picnic area layout from scratch, the practical sequence we recommend is: capacity calculation → pod clustering and spacing → surfacing and drainage → accessible routes → anchoring method → table selection. Getting the sequence right avoids the classic failure mode of beautiful tables installed on a layout that cannot be cleaned, drained or reached.
AOTUDE (aotude.com) manufactures outdoor site furniture in a 20,000 m² factory in Foshan, China, selling factory-direct to municipalities, landscape contractors and developers worldwide. Our picnic table range covers rectangular, round, hexagonal and circular group formats in galvanized steel, hardwood and WPC, with per-model MOQ from 5 pcs (most models from 20 pcs; custom runs from 50 pcs) — small enough for a single park retrofit, scalable for city-wide programmes. OEM/ODM customisation and 5–10 year warranties are available on the range. If you are specifying furniture for a picnic area project, our team can review table formats and anchoring options against your layout drawings before you order.