Bike Rack Anchoring and Mounting Surfaces: A Specification Guide for Municipal Bike Parking
2026-10-07 · 8 min read · By AOTUDE Furniture Team
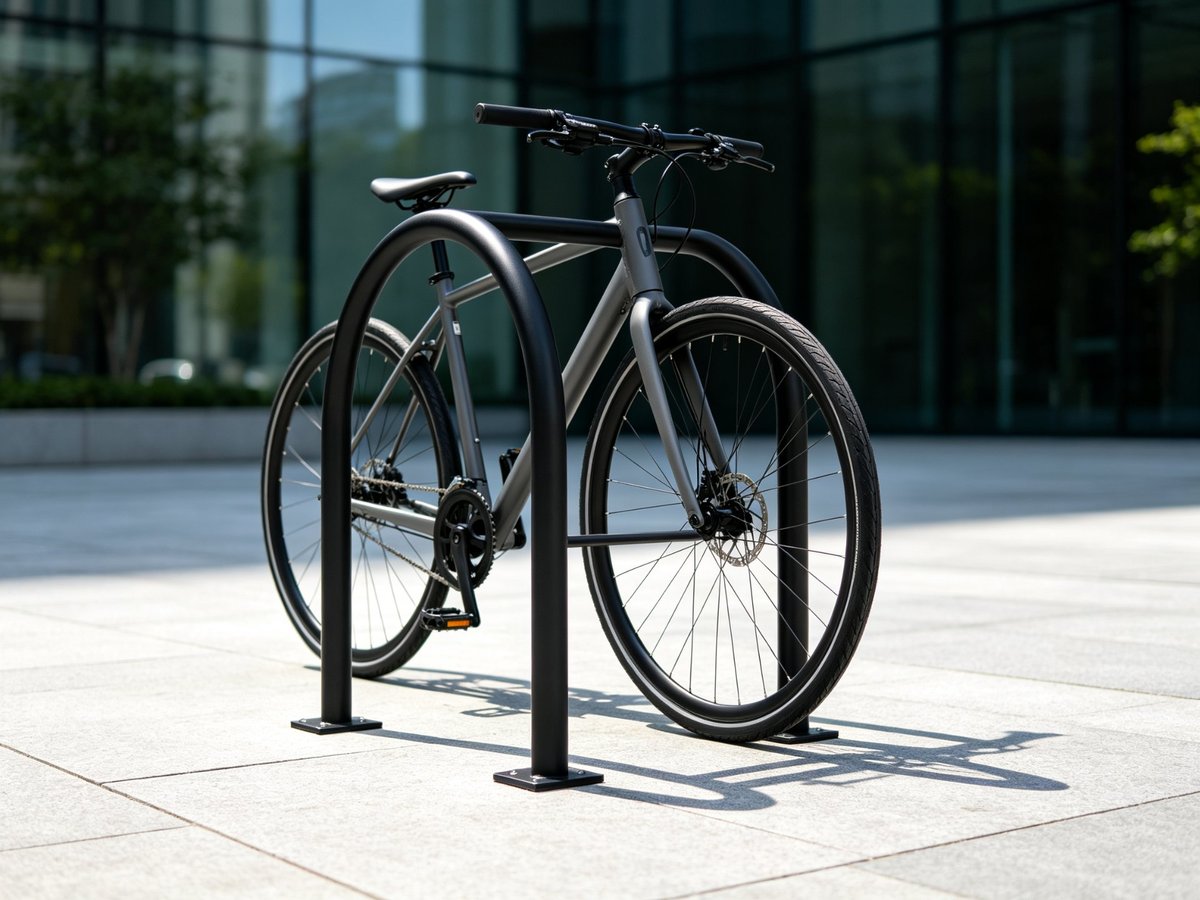
Bike parking programs live or die at the anchor point. A rack can be beautifully formed, correctly spaced and generously supplied — and still fail in service if it is bolted to a substrate that cannot carry the load, or fixed with hardware that a portable angle grinder defeats in ninety seconds. Rocking racks, pulled-out posts and rust-bleeding base plates are the three complaints public works departments receive most often about bike parking, and all three trace back to decisions made at the anchoring and surface specification stage. This guide sets out how municipal departments, landscape architects and contractors should match mounting methods to surfaces, what a concrete foundation spec for bike rack anchoring should actually say, and which hardware details keep racks secure for their full service life. For the planning side — spacing, clearances and capacity — see our companion bike rack layout best practices guide.
Why Anchoring Is the First Point of Failure
A public bike rack is a piece of street furniture that people deliberately lean on, kick, chain things to and occasionally drive into. Its anchor points see cyclic lateral loads, impact loads and constant moisture at the base — the exact conditions that expose weak installation details within the first year. The four most common failure modes are:
- Rocking and loosening. Racks set on undersized pads or fastened with under-torqued anchors work loose under cyclic loading, then rock visibly and shed torque week by week.
- Pull-out and theft of the rack itself. Thieves target racks for scrap value; surface anchors without security fasteners can be removed with common tools.
- Corrosion at the base plate. Moisture trapped between an unsealed base plate and concrete creeps into the anchor hole, staining paving and corroding the fixture from below.
- Substrate cracking. Anchors placed too close to slab edges or expansion joints crack the surrounding concrete, turning a cosmetic problem into a structural repair.
All four are cheaper to prevent at specification time than to fix in service. That prevention starts with matching the mounting method to the surface.
Match the Mounting Method to the Surface
There is no universally "best" mounting method — there is the right method for the surface you actually have. The four standard options trade security against installability:
| Mounting method | Compatible surface | Security level | Best used for |
|---|---|---|---|
| Cast-in (in-ground) anchor rods | New pour, rack set before or during concrete pour | Highest — rod embedded 90–120 mm, no exposed bolt to attack | Plazas, parks and streetscapes with new paving; high-theft areas |
| Surface mount on flange plates | Existing sound concrete slab, min. 100–125 mm thick | High with security fasteners; depends on slab quality | Retrofits onto sound concrete; projects needing removable racks |
| Chemical (adhesive) anchors | Existing concrete where drilling must not crack rebar | High when installed to manufacturer cure specs | Dense urban retrofits, post-tensioned-adjacent slabs, near edge conditions |
| Freestanding / ballasted frames | Temporary surfaces, event sites, protected heritage paving | Low — relies on frame mass and interlinking | Temporary demand, seasonal events, sites where drilling is prohibited |
Two specification rules apply across all four methods. First, never let a supplier substitute a flange mount where the drawing shows cast-in — the anchor geometry is different and the security difference is real. Second, whatever the method, the rack's finished installation must leave no gap that collects water: quality manufacturers supply base plates with welded sealing collars or supply caulking detail as part of the install drawing.
Concrete Foundations: What the Spec Should Say
For cast-in and surface-mounted racks, the pavement specification does most of the work. A municipal foundation spec for bike rack anchoring should state, at minimum:
- Slab thickness of 125 mm (5 in) or more for surface-mounted racks, with anchors kept at least 150 mm from slab edges, joints and saw cuts.
- Concrete strength of 25 MPa (3,600 psi) minimum, ideally 30 MPa in high-traffic streetscapes; anchor manufacturer pull-out ratings assume competent concrete, not a weak topping.
- Embedment depth per the anchor's ICC-style evaluation — typically 90–120 mm for cast-in rods; shallow-set anchors derate pull-out capacity dramatically.
- Cure time before loading: seven days minimum before torque-up and use, twenty-eight days for full rated capacity. Racks loaded onto green concrete are the classic cause of early loosening.
- Torque values and re-check: tighten to the anchor manufacturer's torque spec with a calibrated wrench, then re-torque after the first month of service.
Contractors should also confirm rebar positions before drilling — hitting a reinforcing bar with a 12 mm bit is a five-minute delay, but chipping a bar out of a structural slab is a repair order. Where the slab is unknown, a rebar scanner costs far less than one bad core hole.
Can You Anchor Into Existing Pavement? Retrofit Realities
Most municipal bike parking is retrofit, and the honest answer is that not all existing surfaces accept anchors well:
- Asphalt deforms under point loads and softens in summer; surface-flanged racks rock loose within a season. Where asphalt is the only option, saw-cut and pour a concrete collar or pad under each rack, or choose a freestanding frame.
- Unit pavers over sand bedding have almost no pull-out capacity. The standard detail is to lift pavers, pour a local concrete pad flush to the bedding, and reset pavers around it — a cost bidders should price, not improvise.
- Thin toppings and screeds over structural decks (podiums, plaza decks) often lack the thickness for embedment. Chemical anchors into the structural slab below, with the topping cored oversized and sealant-filled, are the usual engineering answer — involve the structural engineer of record.
Budget check: a cast-in rack during a new pour is the cheapest secure installation available, because the "foundation" is pavement that was being poured anyway. Retrofit onto pavers can triple the installed cost per rack. If your project is still in design, that difference alone justifies reserving rack locations in the paving plan — a point our site furniture installation and logistics guide covers alongside container packing and on-site sequencing.
Tamper-Resistant Hardware and Corrosion Protection
The anchor hardware itself is the last line of defense, and it is where value engineering does the most damage. Specify:
- Security fasteners — shear nuts that snap off at installation torque (leaving a conical, untoolable head), pin-hex or pin-torx bolts, or one-way screws. Standard hex nuts on a public rack are an invitation.
- Hot-dip galvanized or stainless anchor rods to match the rack material; a galvanized rack on bright zinc-plated anchors corrodes at the interface first, exactly where moisture sits.
- Full-bed epoxy or polyurethane sealant under every base plate and into the bolt holes, closing the capillary path that causes the rust-bleed stains familiar from older installations.
- Welded or domed cover plates where the design allows, hiding fasteners entirely and removing the leverage point for pry bars.
For coastal and de-icing-salt environments, pair 316 stainless hardware with the sealing details above — 304 alone is not sufficient within a few hundred meters of salt spray or heavy winter salting.
Installation QC and Lifetime Inspection Checklist
Anchoring quality is invisible once the rack is in — so verify it while it is still visible. A practical acceptance and maintenance routine:
- At handover: torque-check a sample of anchors (at least one per rack), confirm base plates are fully bedded and sealed, and pull-test each rack laterally — visible movement fails acceptance.
- First month: re-torque after initial service; green concrete, thermal cycling and initial misuse expose any under-torqued anchors now, cheaply.
- Twice yearly: walk the inventory. Look for rocking, gaps under base plates, rust bleed at anchors, and pavement cracking around footings. Re-torque, re-seal or re-set immediately — a rocking rack never firms up on its own.
- After any vehicle strike: even racks that look fine can have yielded anchor rods; pull-test before returning to service.
Write these checks into the maintenance contract, not just the handover report. Municipal inventories that inspect twice a year catch anchor failures while they are still a fifteen-minute fix.
Sourcing Racks That Are Built to Be Anchored
Manufacturing quality shows up at the anchor point first. AOTUDE produces bike racks, benches, litter bins and supporting street furniture at its 20,000 m² factory in Foshan, supplying municipalities, landscape architects and contractors in more than 40 countries on a factory-direct basis. Our hoop and multi-bike racks — including the SteelArch multi bike rack and the Velo-Safe bike rack — are supplied with hot-dip galvanized structures, marine-grade polyester powder coating, sealed base details and matched security anchor hardware, with cast-in templates and install drawings included for contractor set-out. With a practical MOQ from 50 pieces, full OEM/ODM support for custom rack profiles and mounting configurations, 5–10 year warranties on structures and coatings, and worldwide container shipping, AOTUDE makes secure bike parking straightforward to specify. Browse the full supporting facilities range or request anchor-detail drawings for your next tender at https://aotude.com.