Bollard Maintenance and Post-Impact Inspection: A Field Guide for Municipal Grounds Teams
2026-10-25 · 7 min read · By AOTUDE Furniture Team
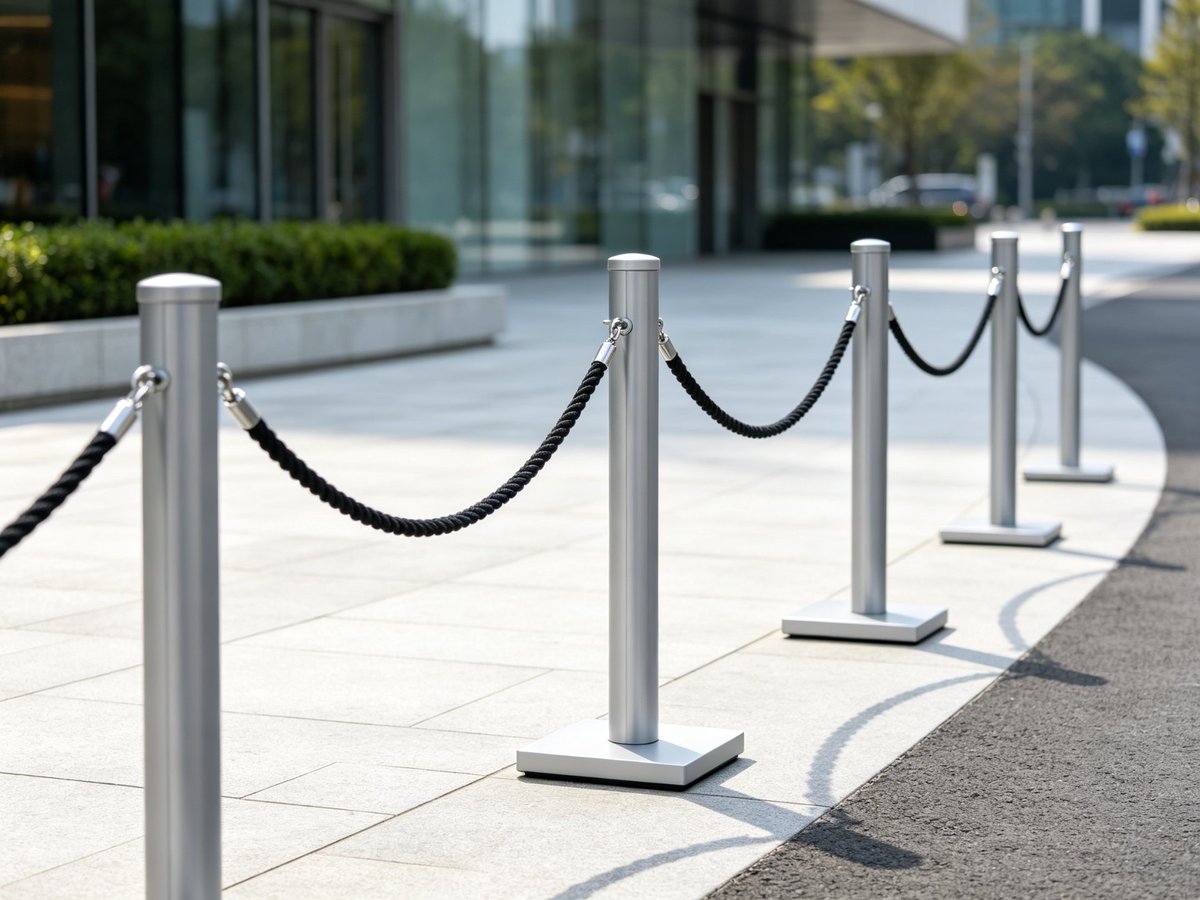
Bollards are among the most abused items in any public space furniture fleet. They are parked against, driven into, salted, abraded by sweeping machines and used as impromptu notice boards — yet unlike a bench, a failed bollard is rarely just an aesthetic problem. A bollard that no longer stands true, or a removable unit whose locking mechanism has seized, becomes a safety and liability issue. This guide sets out a practical bollard maintenance programme for municipal grounds teams, landscape contractors and facility managers: what to inspect, how often, what to do after a vehicle impact, and how to decide between repair and replacement.
Why Bollard Maintenance Deserves Its Own Schedule
Most public-space maintenance regimes treat bollards as "fit and forget" assets. That assumption works — until it doesn't. Three failure modes develop quietly over time:
- Corrosion at the base. Water, grit and de-icing salt collect at the bollard-to-pavement junction, where coating damage is most likely and hardest to see.
- Foundation movement. Freeze-thaw cycles, sweeping vehicles and minor impacts gradually loosen the concrete footing or anchor bolts, even when the visible post still looks sound.
- Mechanism wear. Removable and retractable bollards rely on locks, keys, hinges and lifting handles that seize up without periodic cleaning and lubrication.
A bollard that fails at these points rarely announces itself. A tilted unit goes unnoticed until someone photographs it for a social media complaint; a seized removable bollard is discovered during an emergency when it cannot be unlocked. Structured maintenance is cheaper than either outcome.
Recommended Inspection Intervals
Use the following baseline schedule and tighten it for harsh sites — coastal promenades, roads treated with de-icing salt, and loading areas with frequent reversing vehicles.
| Inspection task | Frequency | What to check |
|---|---|---|
| Visual walk-past | Monthly | Uprightness, coating damage, missing caps, graffiti, chain or belt condition |
| Base and foundation check | Every 6 months | Cracked mortar/concrete, water pooling, rust staining at grade, loose anchor bolts |
| Removable mechanism service | Every 6 months | Lock operation, key wear, debris in socket, lubrication, lifting handle condition |
| Coating touch-up assessment | Annually | Rust spots, chipped powder coating, UV fade, galvanizing condition at scratches |
| Post-impact inspection | After every known collision | Per the checklist in the next section |
Record findings in your asset management system with the bollard's location ID, so deterioration trends become visible across years rather than lost in individual work orders.
The Post-Impact Checklist
When a bollard has been struck by a vehicle, do not judge it by appearance alone. A post can look intact while its anchorage has failed or its internal structure has yielded. Work through this checklist before returning the site to normal:
- Secure the area first. If the bollard is a protective unit around a pedestrian zone, utility cabinet or building entrance, cordon the line off immediately — a compromised bollard may not stop the next vehicle.
- Check plumb. Use a spirit level or plumb line on two axes. Any tilt greater than a few degrees after an impact usually means the foundation or anchor bolts have moved, not just the post.
- Inspect the ground line. Look for fresh cracks radiating from the base in the pavement, lifted pavers, or a visible gap between the flange and the surface — all signs of anchorage failure.
- Test the anchor bolts. Apply moderate hand torque to accessible bolts. A bolt that spins freely or feels loose indicates stripped threads or a cracked embedment; log exact locations.
- Assess the post itself. For steel bollards, check for creases, kinks or splits in the tube; a creased post has lost its intended resistance and should be replaced, not straightened.
- For removable units, test the full cycle. Unlock, lift, remove, re-insert and lock. A bent internal socket or a deformed locking pin will show up here even when the post looks fine.
- Photograph and document. Capture the bollard, the base and the surrounding pavement. This supports insurance claims, warranty discussions and replacement ordering.
After any impact that caused visible deformation or anchorage movement, schedule a follow-up check two to four weeks later. Ground settlement from the impact event sometimes appears only after rain or a freeze-thaw cycle.
Caring for Removable and Flexible Bollards
Removable bollards fail in the field far more often from neglect of the mechanism than from collision damage. Three habits keep them operational:
- Keep the socket clean. Grit, litter and sweepings settle into embedded sockets. Vacuum or flush the socket before every re-insertion; forcing a dirty post in scores the locking bore and packs debris into the lock.
- Lubricate correctly. Use a dry PTFE or lithium-based lubricant on locks and lifting hardware. Avoid thick greases that attract grit in pedestrian areas.
- Audit the keys. Removable bollards are commonly locked with distinctive keys that go missing. Maintain a key register, and standardise lock types across a district so one registered key profile serves the whole fleet.
Flexible (self-righting) bollards need almost no mechanism care, but their elastomer base and rebound assembly should be inspected annually for UV embrittlement and after any significant strike — a flexible bollard that has stopped returning to vertical is telling you its base has been damaged.
Coating and Corrosion Touch-Up
Small coating defects are the leading preventable cause of bollard corrosion. Treat touch-up as routine maintenance, not as a repair:
- Wash the area with mild detergent and rinse; let it dry fully.
- Remove loose rust with a wire brush or abrasive pad back to sound metal.
- Feather the edge of the surrounding intact coating so the patch blends.
- Apply a zinc-rich primer on bare steel, then a compatible topcoat matched to the original colour (most municipal bollards use standard RAL shades such as RAL 9005 black or RAL 7016 anthracite).
- Pay particular attention to the bottom 100 mm of the post and any welds, sharp edges and drilled holes, where coatings are thinnest and corrosion starts first.
Hot-dip galvanized bollards can be touched up with cold galvanizing compound on scratches; the zinc layer will sacrifice itself around small defects, which is exactly what it is designed to do. For a fuller treatment of coating systems and how they interact with steel frames, see our guide to hot-dip galvanizing for outdoor furniture and the general outdoor furniture maintenance checklist that structures quarterly and annual tasks across a whole furniture fleet.
Repair or Replace? A Simple Decision Frame
Not every damaged bollard warrants a new unit. Use this triage:
| Condition found | Typical action |
|---|---|
| Surface rust spots, coating chips | Clean and touch-up on site |
| Minor tilt (< 2°), sound anchorage | Monitor; re-check after next winter |
| Loose or spun anchor bolts, cracked footing | Re-anchor or rebuild foundation; post can usually be reused if undamaged |
| Creased, kinked or split post | Replace the post |
| Removable mechanism seized or socket deformed | Replace lock/socket assembly, or the full unit if the socket is embedded and damaged |
| Post-impact tilt with foundation movement | Replace unit and repair pavement; treat as a safety defect in the interim |
One practical note for procurement teams: when specifying replacements, choose bollard models with replaceable internal components and standardised anchors. Units that are welded shut or use proprietary one-shot fixings turn every future incident into a full replacement, which is where lifetime cost quietly doubles. Our bollard and barrier selection guide covers how fixed, removable and flexible types compare at the specification stage.
How AOTUDE Supports Long-Term Bollard Fleets
AOTUDE manufactures steel bollards and barrier posts — including removable rope-post and belt-barrier designs such as the Guardian rope post bollard and the Guardian belt barrier bollard — in our 20,000 m² factory in Foshan, China, and ships them factory-direct to municipal and landscape contractors worldwide. We build with hot-dip galvanized or powder-coated steel frames, offer OEM/ODM customisation for anchor types, colours and locking systems, and back our products with 5–10 year warranties. With per-model MOQs starting from 5 pcs (most models from 20 pcs, custom runs from 50 pcs), even phased replacement programmes for a single district are practical. Browse the full range at aotude.com or request a quotation with your drawings.